Content overview of MasterCOURSE “Photography with Intent”
On this page you will find information about the 16 different modules of the MasterCOURSE, as well as some screenshots and samples.

1. EXPRESSIVE PHOTOGRAPHY
Video of 55 minutes
Streaming

2. THE PHOTOGRAPHIC MESSAGE
PDF of 150 pages
Direct download

3. THE PHOTOGRAPHIC MESSAGE
Video of 50 minutes
Streaming

4. NATURAL LIGHT WITH INTENT
PDF of 250 pages
Direct download

7. COMPOSITION WITH INTENT
2 hours 15 minutes of Videos
Streaming

10. PRINTING WITH INTENT
PDF of 120 pages
Direct download

13. BLACK & WHITE WITH INTENT
2 hours 15 minutes of Videos
Streaming

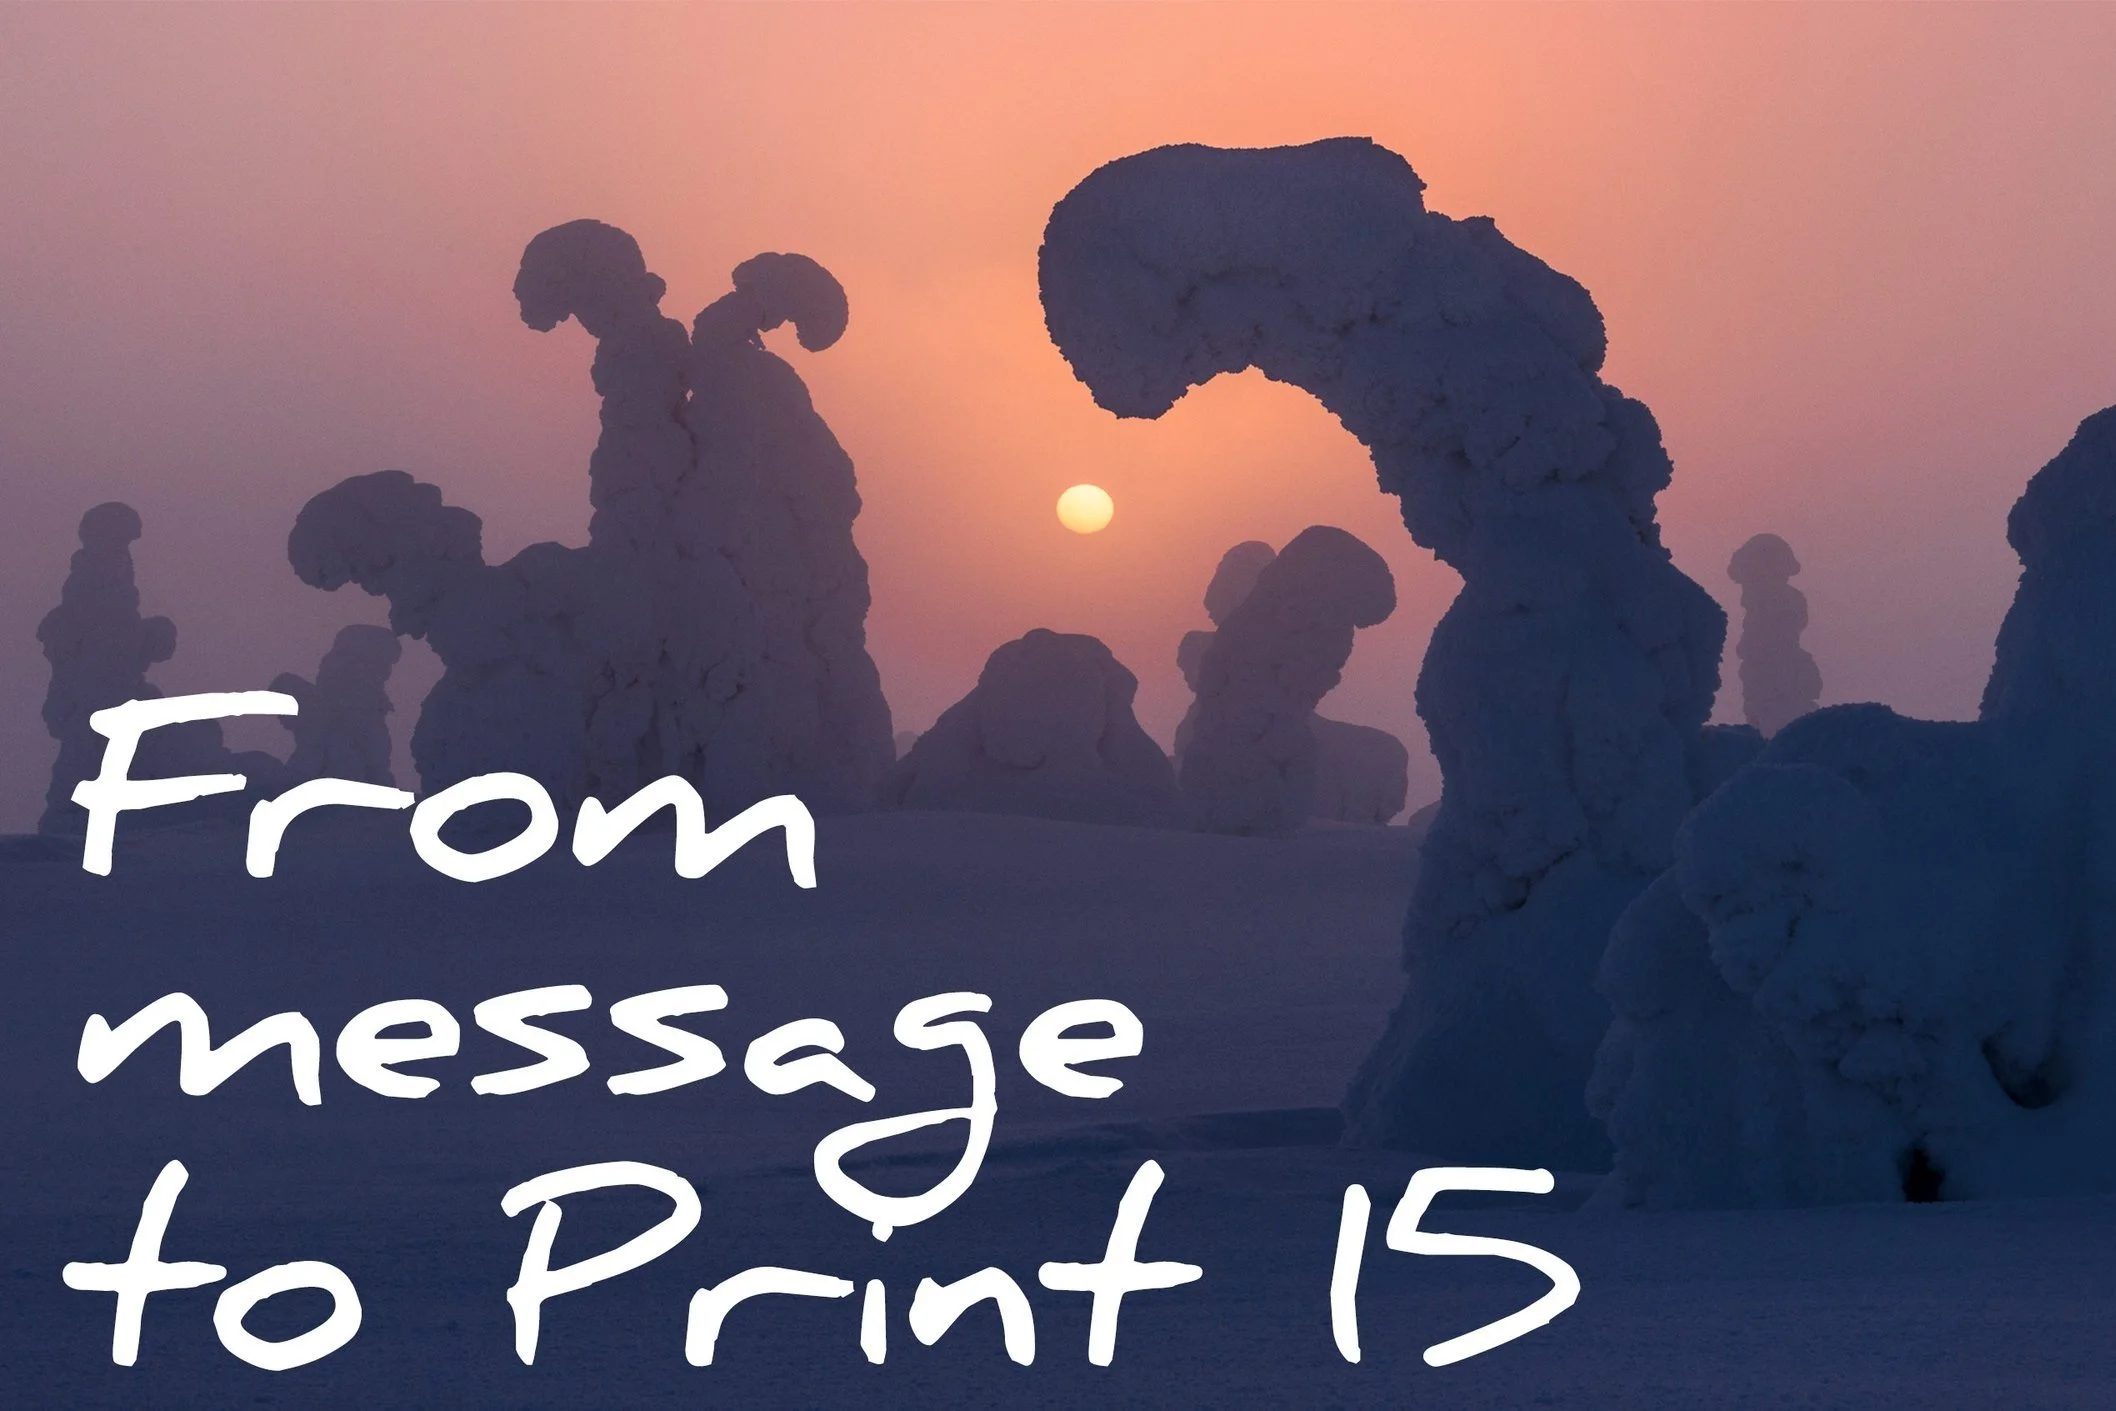
16. FROM MESSAGE TO PRINT III
5 hours of Videos
Streaming

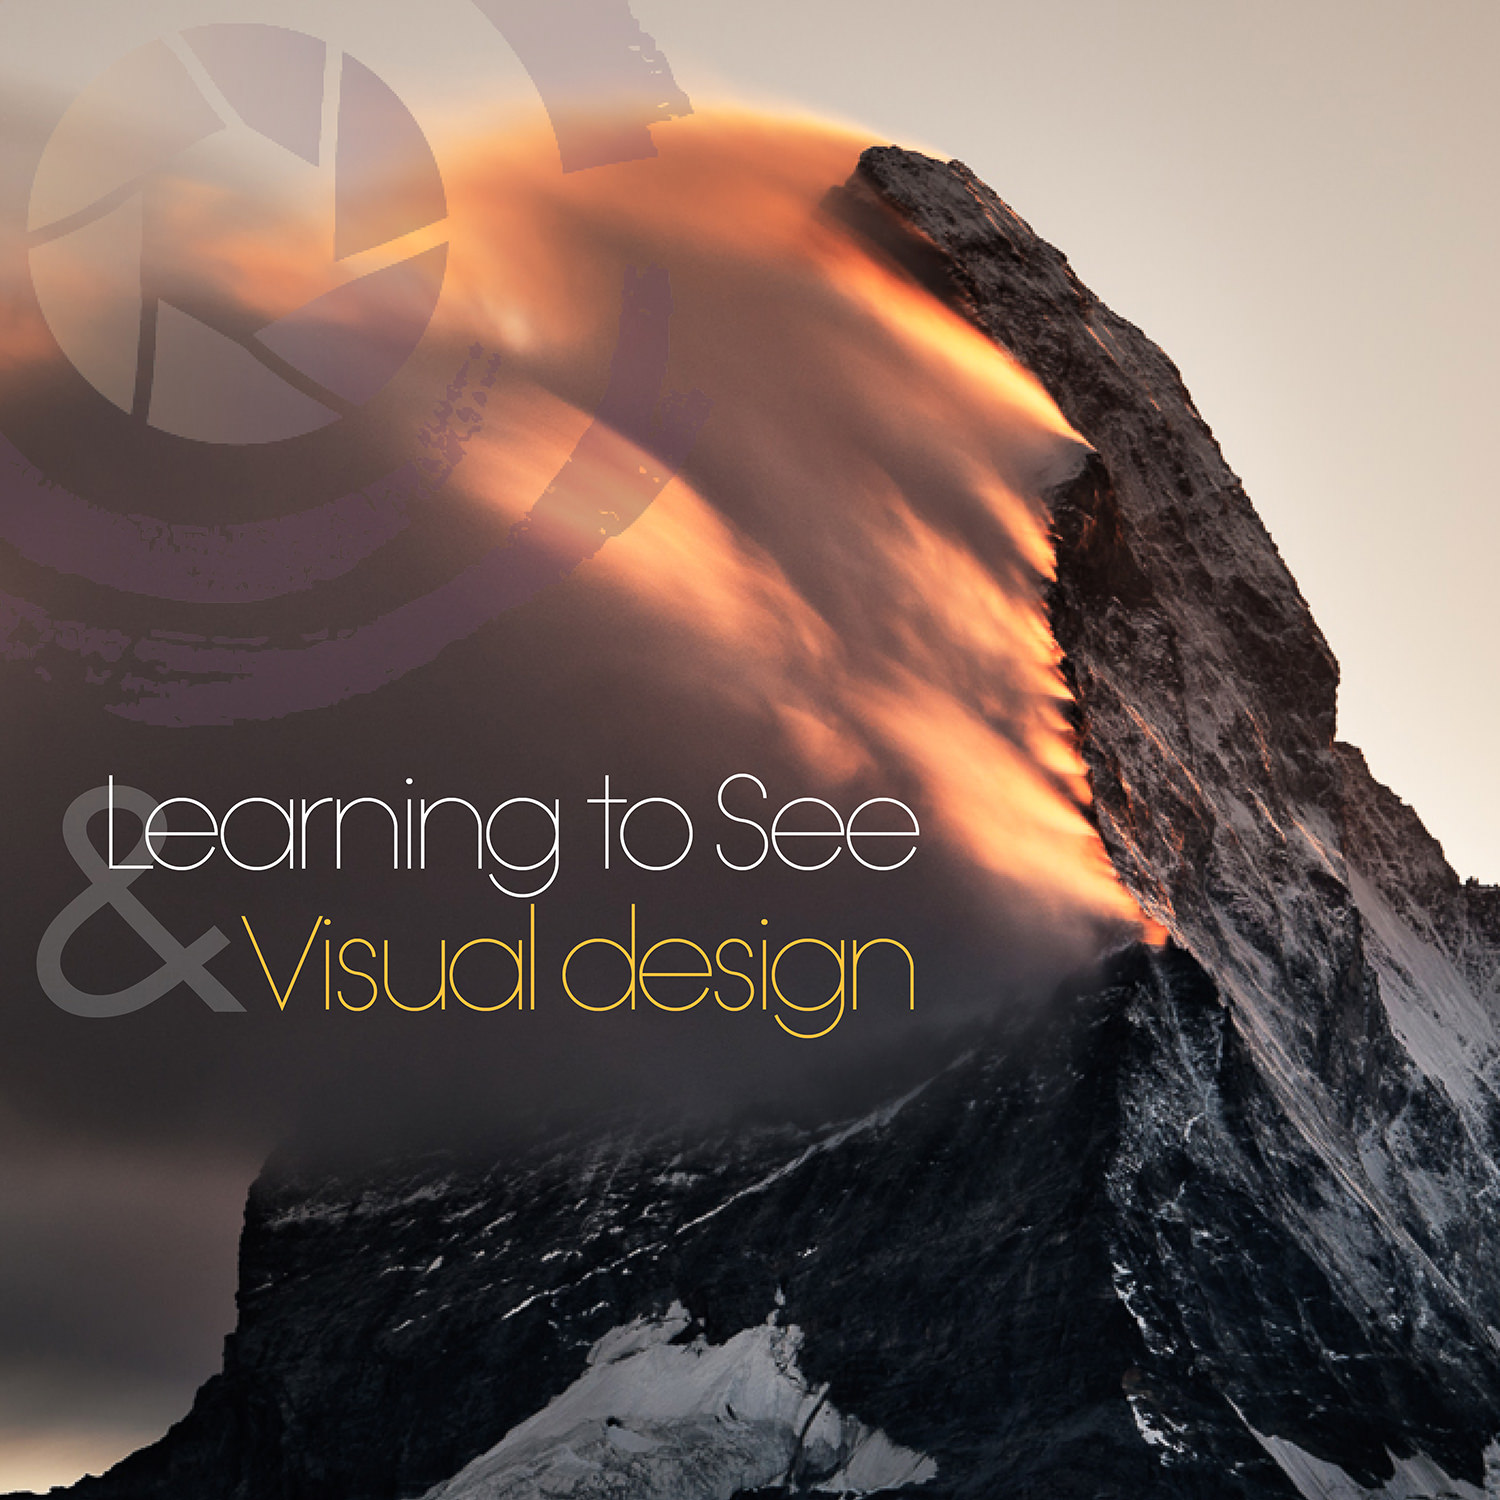
5. LEARNING TO SEE, VISUAL DESIGN
PDF of 35 pages
Direct download

8. POSTPROCESSING WITH INTENT
PDF of 120 pages
Direct download

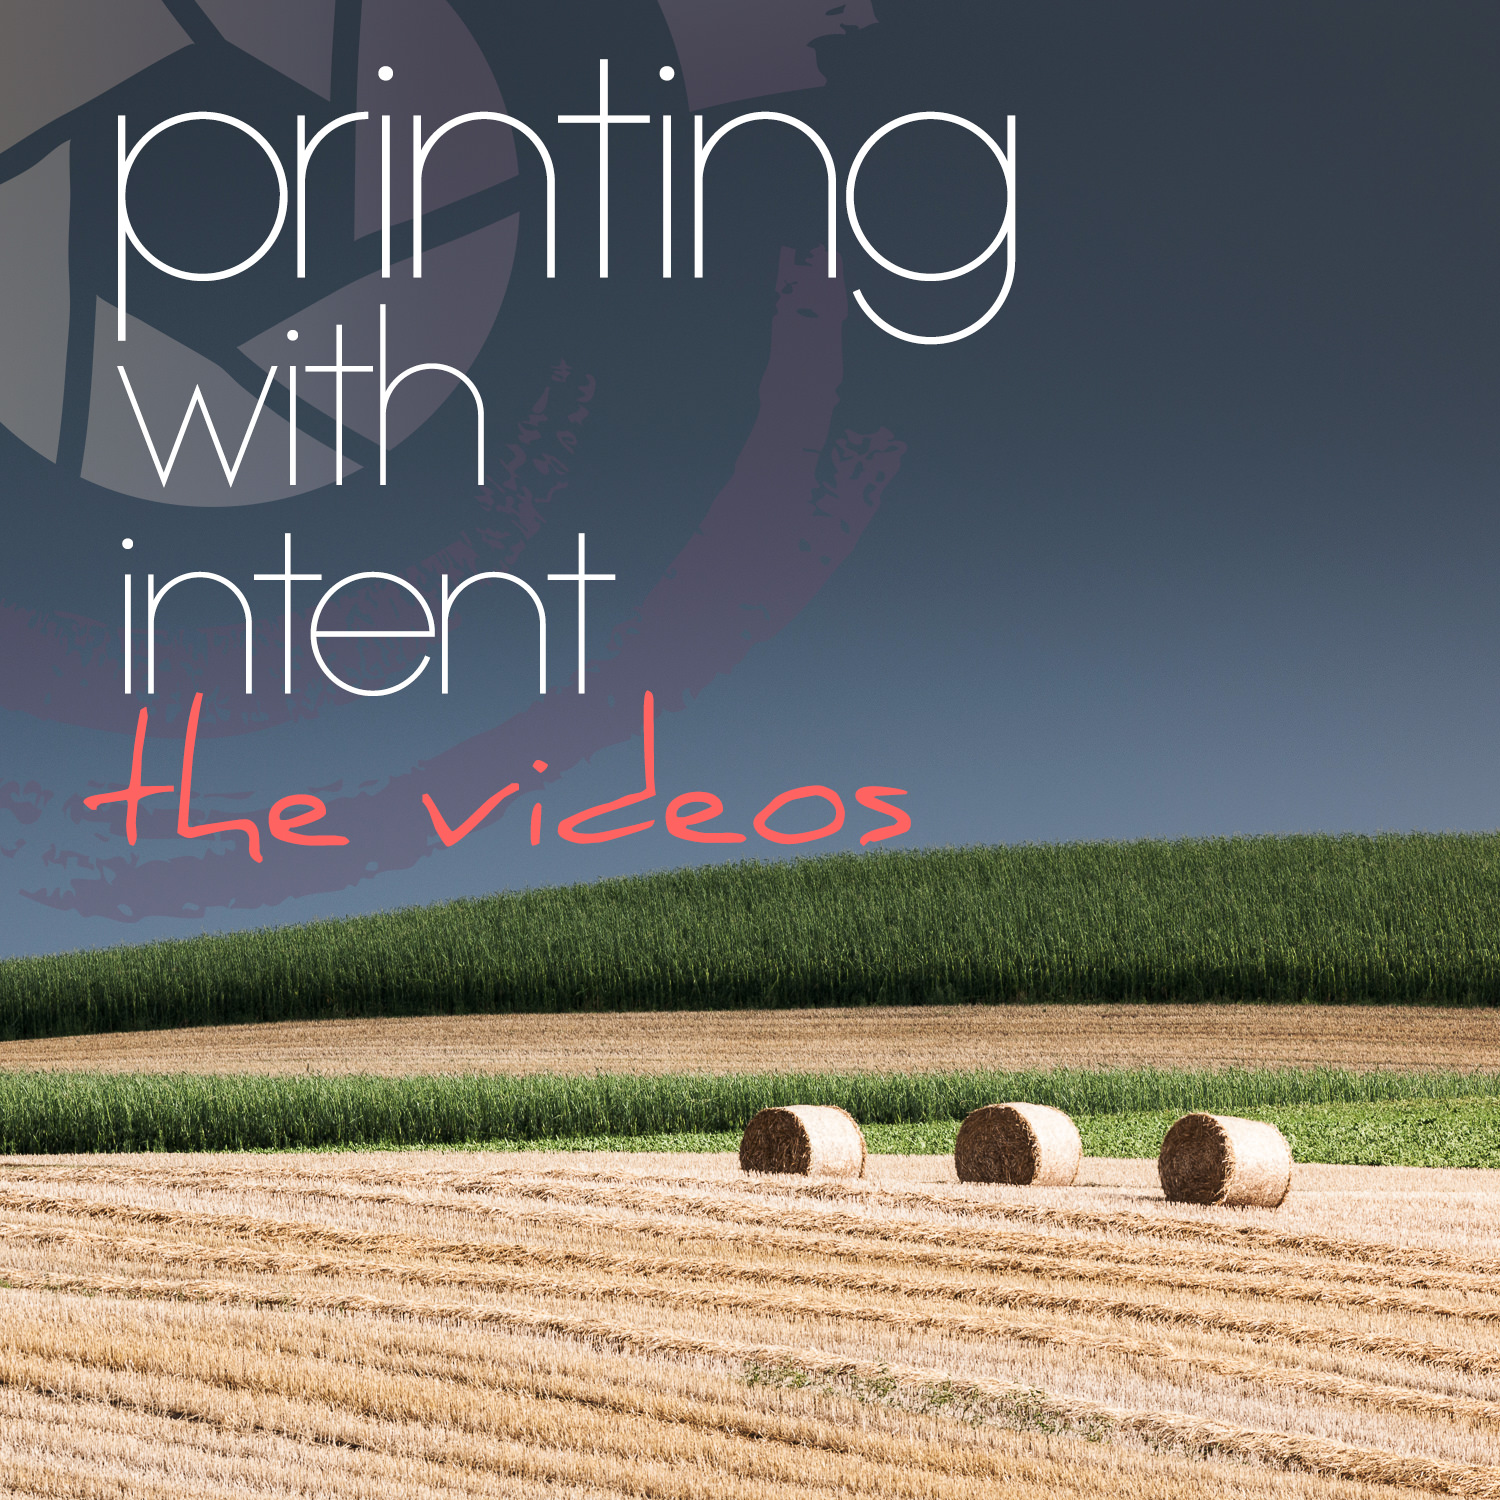
11. PRINTING WITH INTENT VIDEOS
2 hours 12 minutes of Videos
Streaming

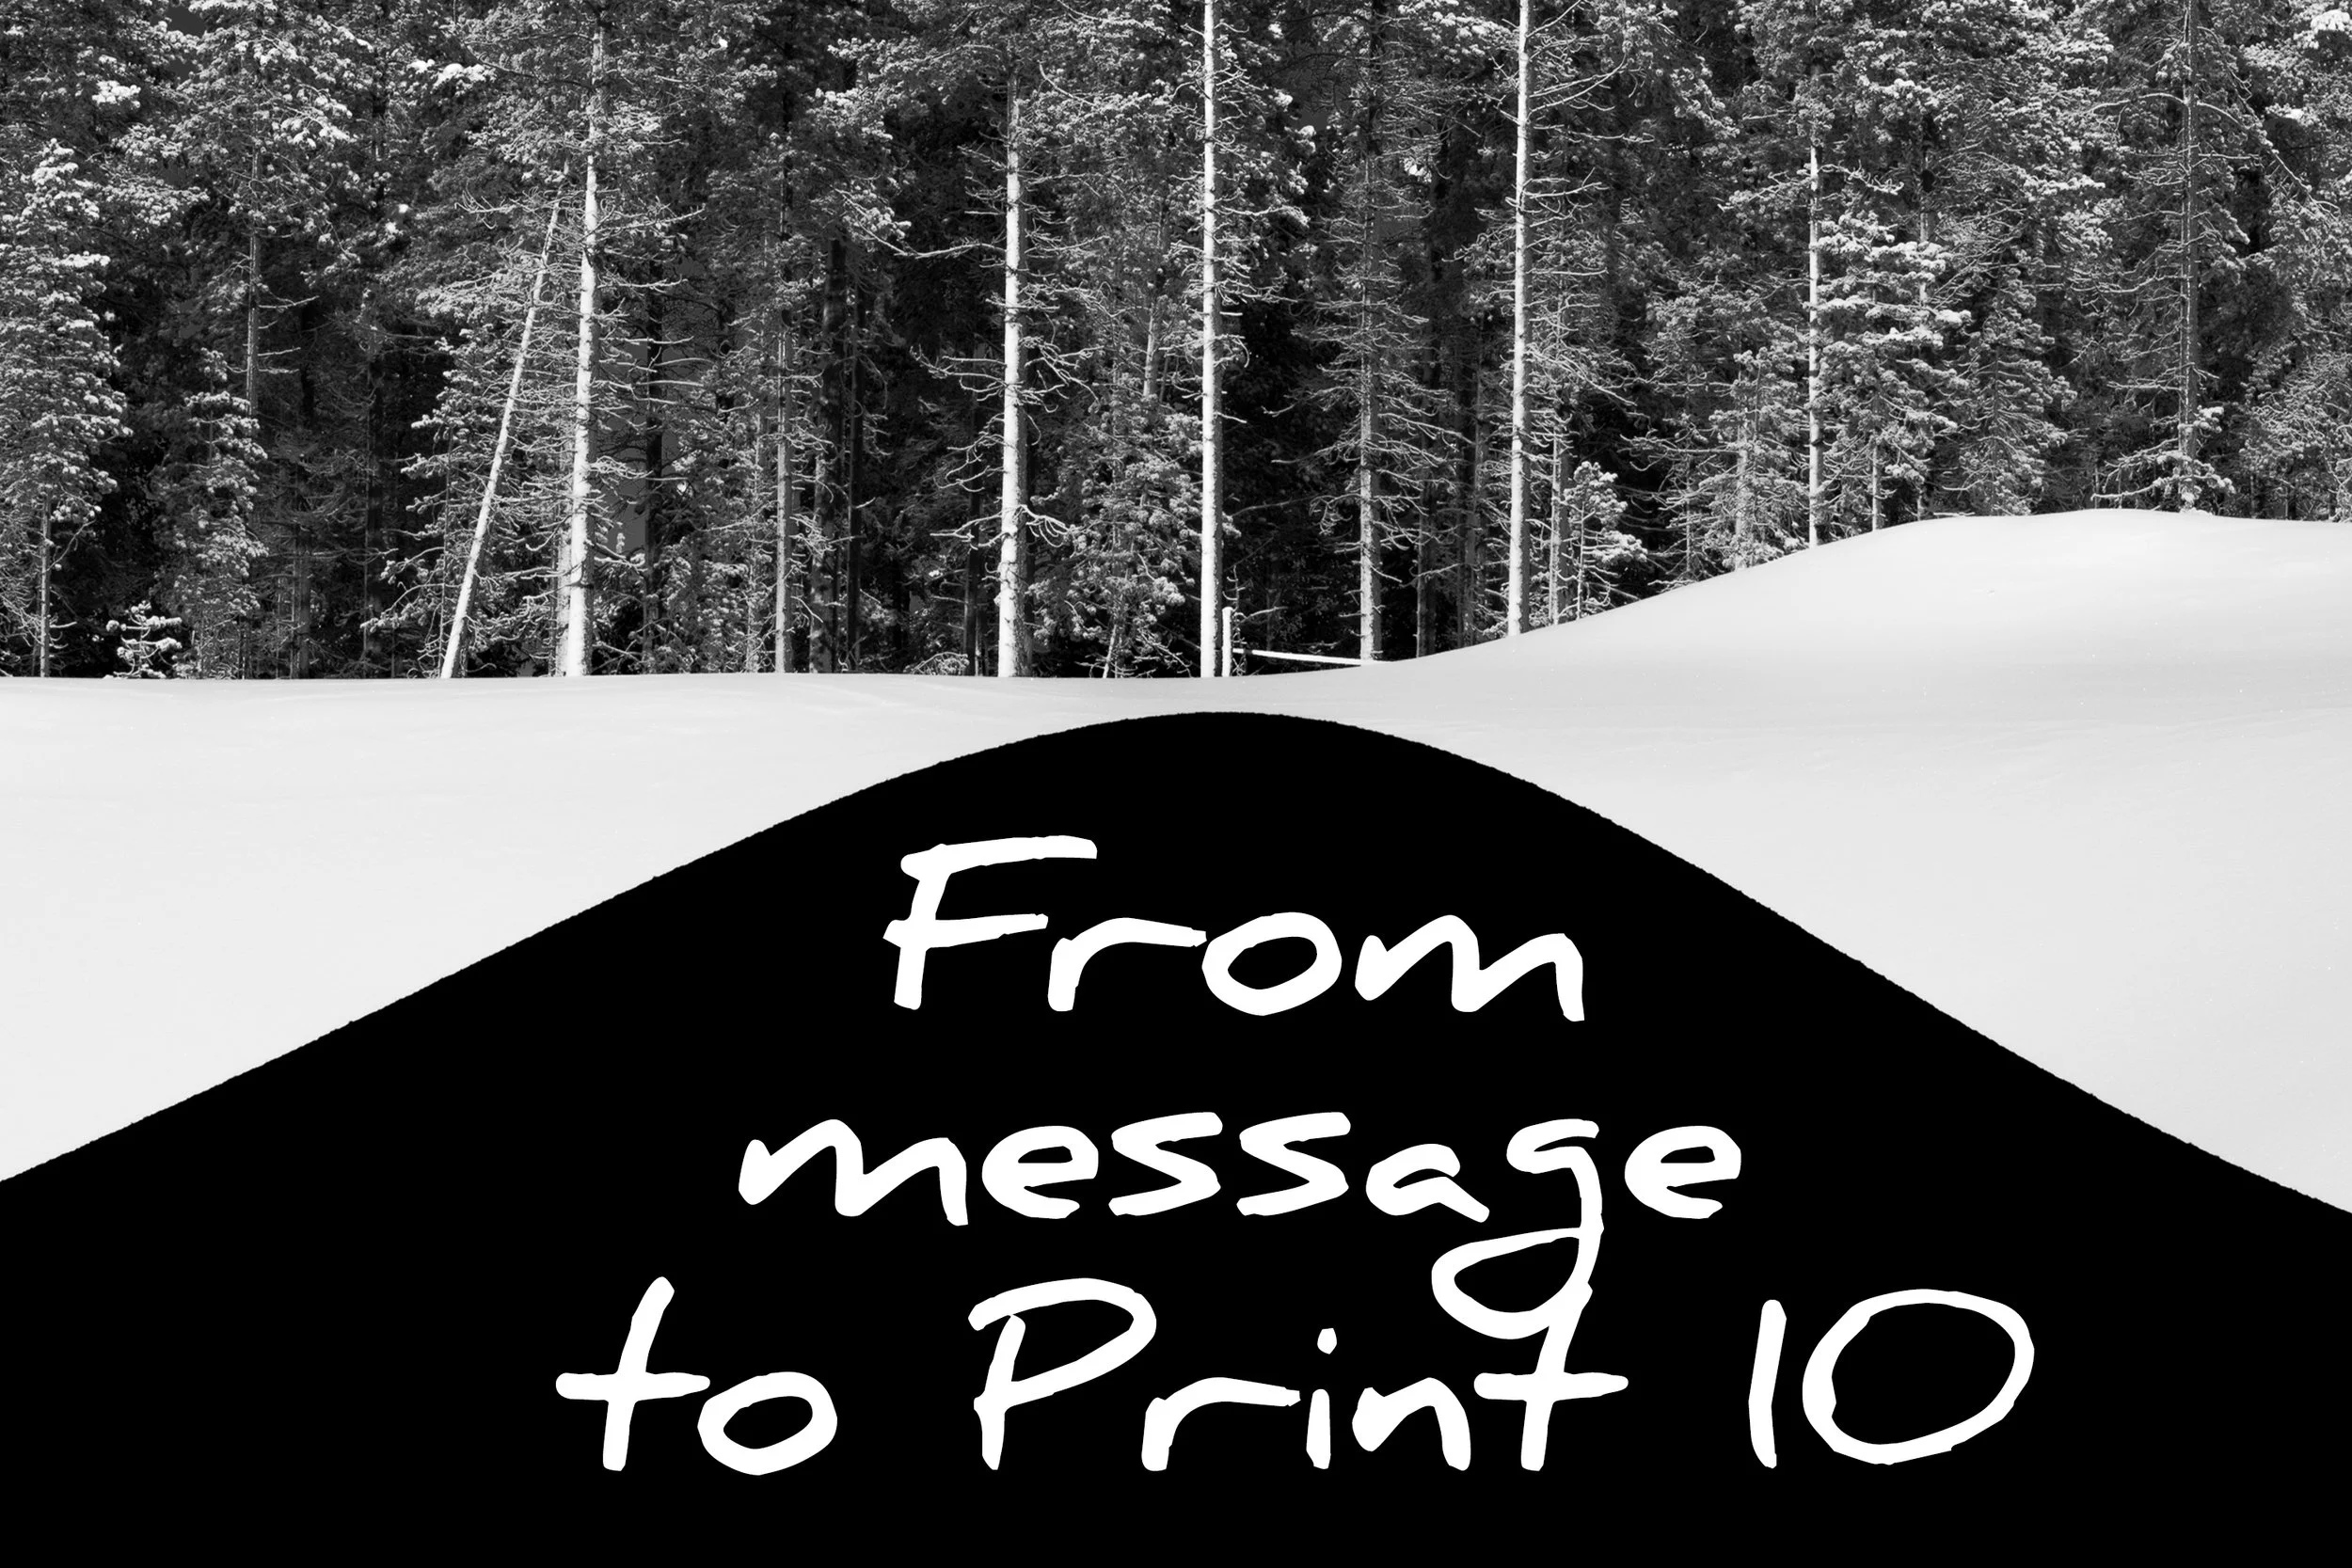
14. FROM MESSAGE TO PRINT I
5 hours of Videos
Streaming
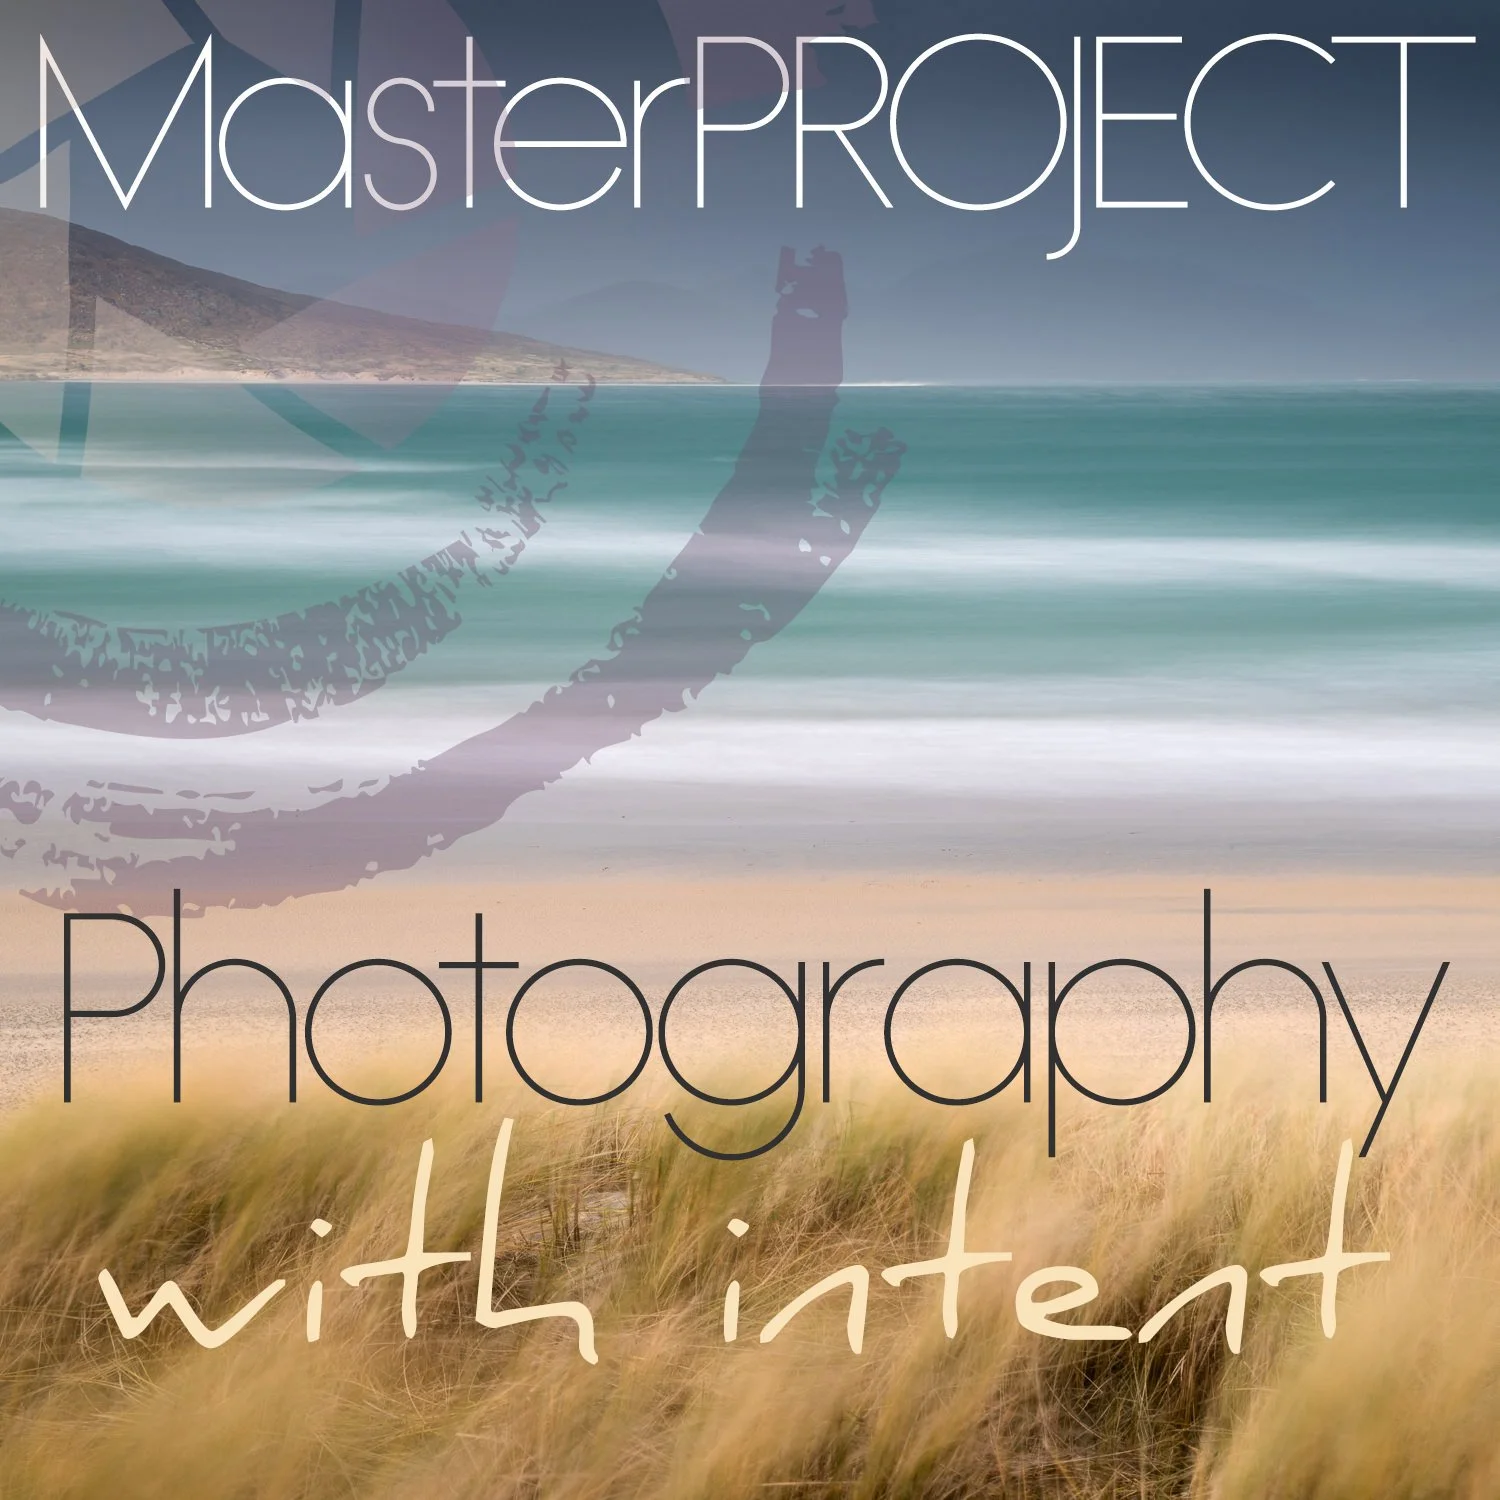
17. MasterPROJECT
Eligibility for the MasterPROJECT

6. COMPOSITION WITH INTENT
PDF of 210 pages
Direct download

9. POSTPROCESSING WITH INTENT
4 hours 38 minutes of Videos
Streaming

12. BLACK & WHITE WITH INTENT
PDF of 90 pages
Direct download

15. FROM MESSAGE TO PRINT II
5 hours of Videos
Streaming

18. 1-to-1 CONSULTATION
One-to-One consultation with Rafael Rojas
Optional service (to be paid separately)